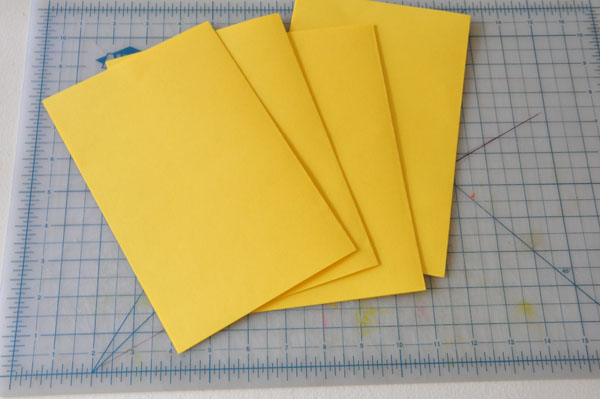
Four standard colored copier paper folded in half
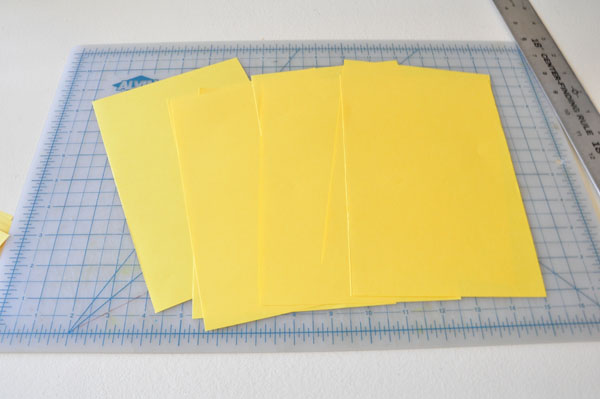
Cut along the fold, eight half sheets. You only need seven. All of the folding, cutting, drawing and glueing for the seven flowers can be done quite rapidly.
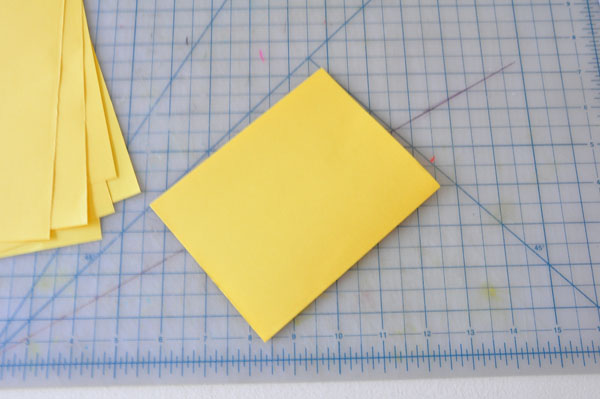
Fold in half again.
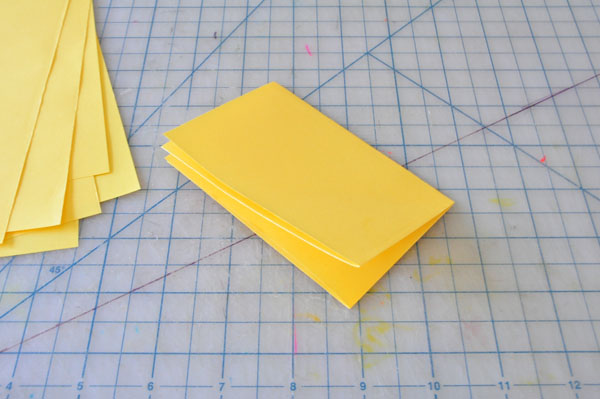
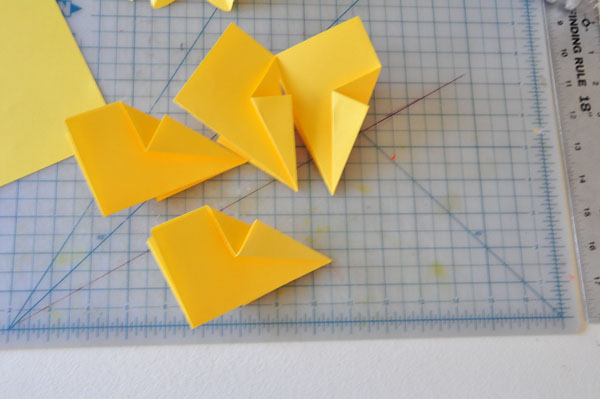
Fold the half-sheets into fourths, being mindful of the closed corner which would be the center of the sheet if it were opened, and the loose corners that will be the separate petals of a flower.
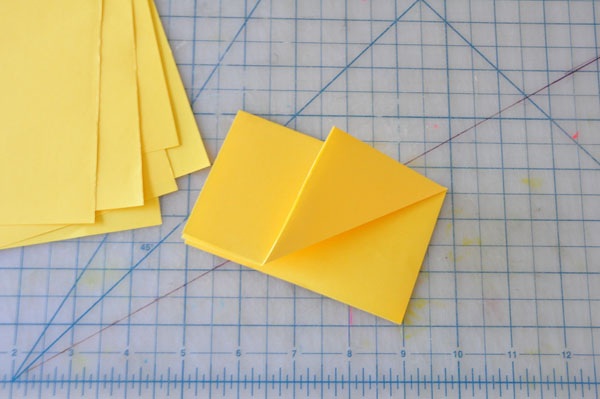
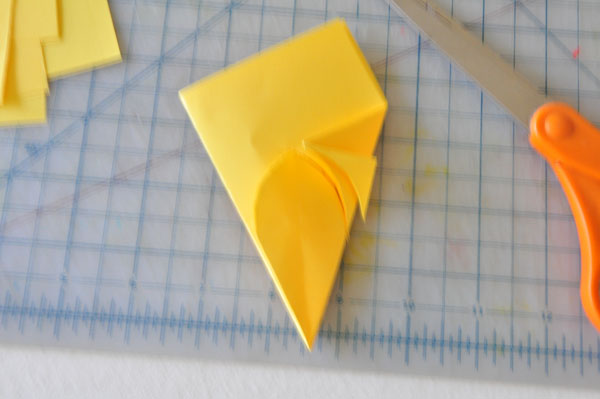
Fold up a corner. This creates a triangle of four layers. These will be four petals of a flower.
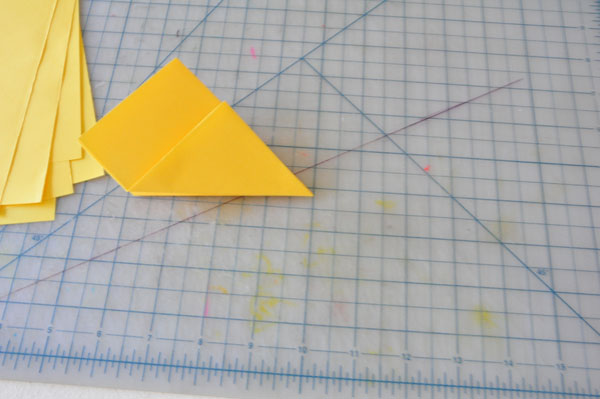
Fold up the opposite side the same way. Now there are eight layers within the triangle all connected at the point.
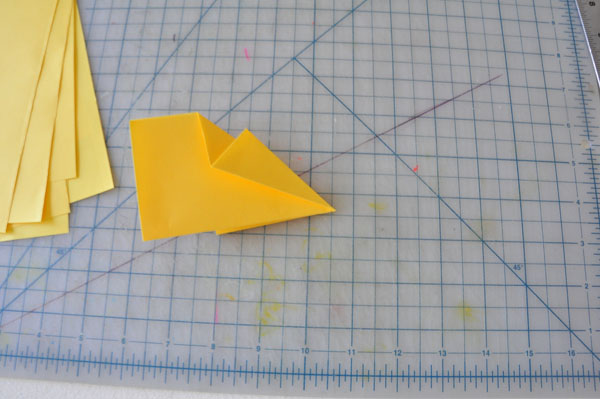
Fold one edge in half. This will allow you to cut half the top of a petal, flipping it back provides a symmetrical template for the other half of the petal, in reality, a whole stack of eight petals all at once.
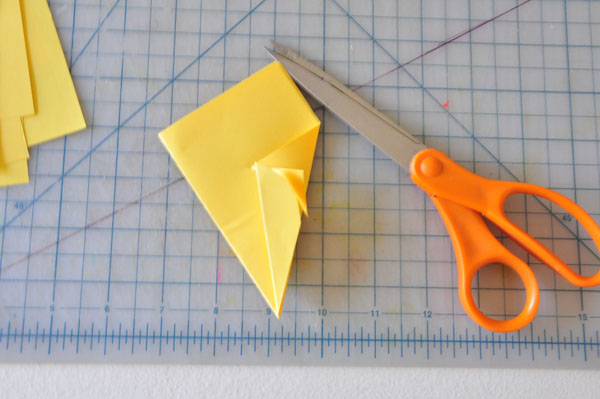
Snip a curve from the outer edge to the point. The flap become a template for the other half.
See what I mean? Now that flap guarantees symmetry. You can make whatever shape of a petal you wish.
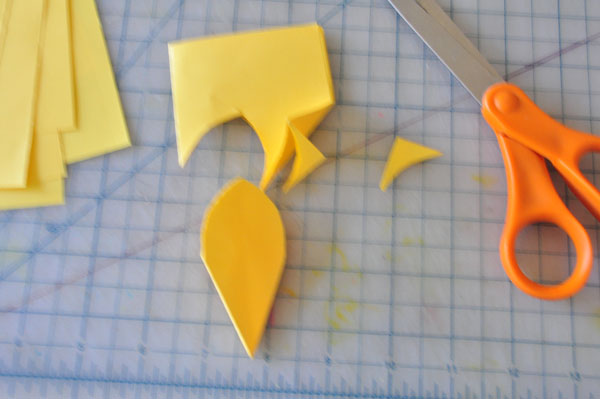
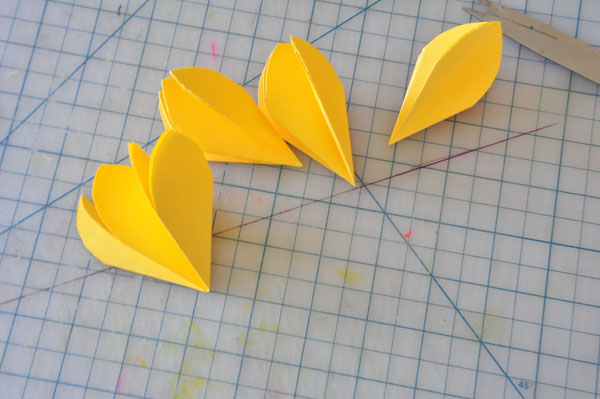
Ta daaaaaaa. Take a bow. You've cut eight petals all at once!
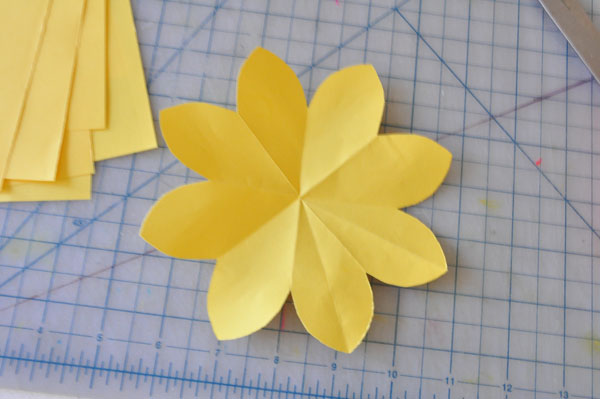
Unfold. Wasn't that easy? This is where it starts to get fun. A disc can be pasted onto a card and it will lay flat. It will fold flat when the card is folded. If you remove one petal and attach the ends, it will become a cone, which is a close imitation of a flower shape. A six-sided cone will also fold flat, although it will not lay flat when the card is opened. This is good for pop-ups. Removing two petals will result in a tighter cone, but we're going to keep one to use as a tab to glue the ends. We'll cut out one petal, and leave the one next to the space blank for a glue tab.
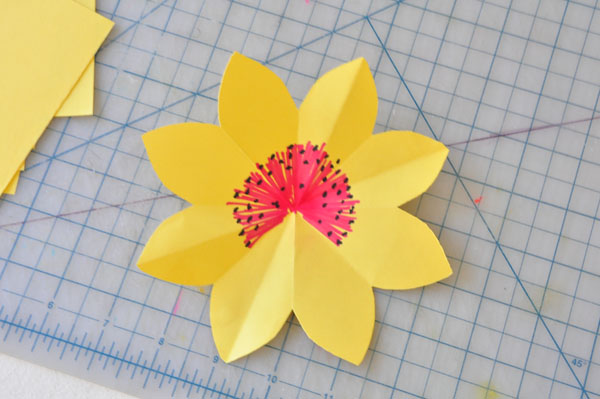
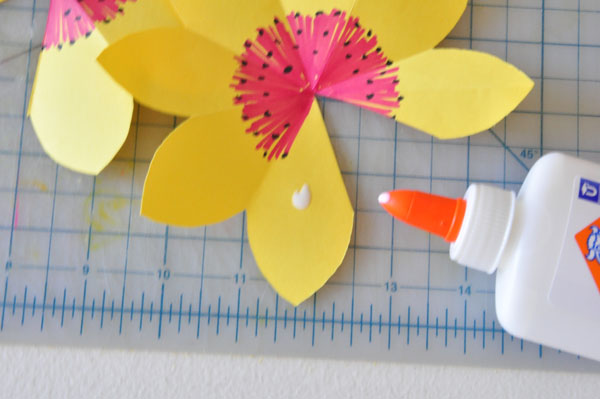
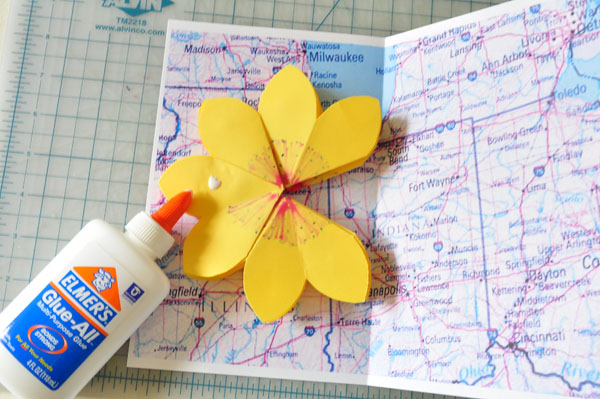
Draw in the sexy bits, the pistils and stamens, anthers and stigma, whatever the hell they are. It's your flower, call them whatever you wish.
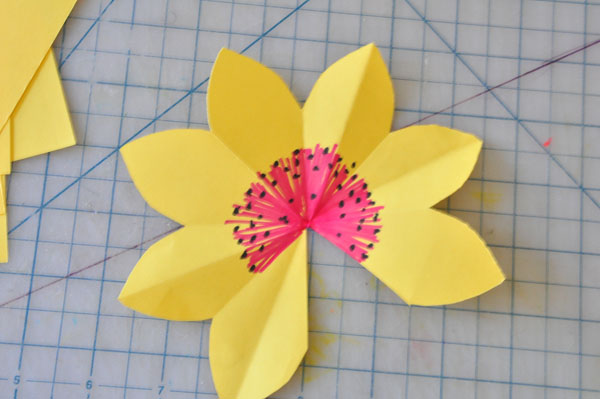
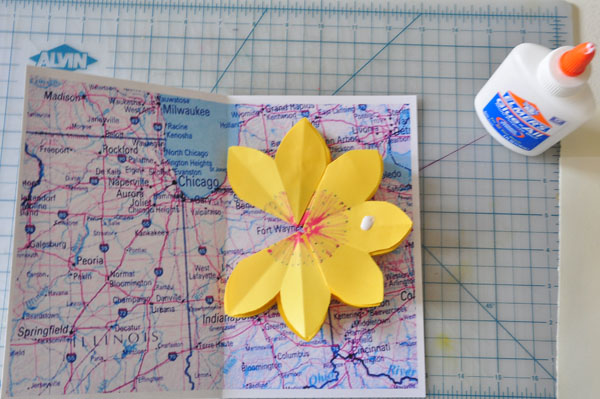
Here we go with the cone formation and the petal as glue tab.
You can actually do all seven petals at the same time.
There's no point in lagging behind like this.
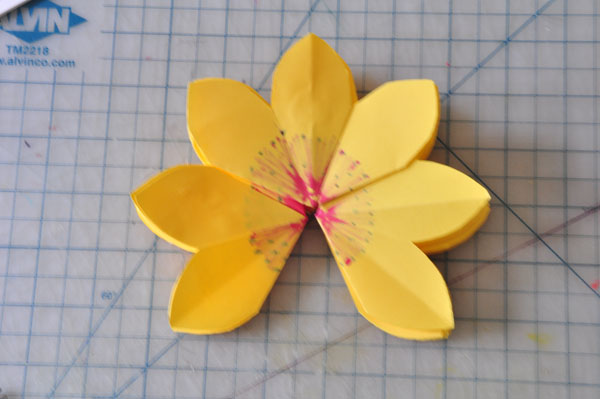
Press the petal to the right of the gap on top of the blank petal for a solid tab. Double petals are doubly sturdy.

In'nit purdy?
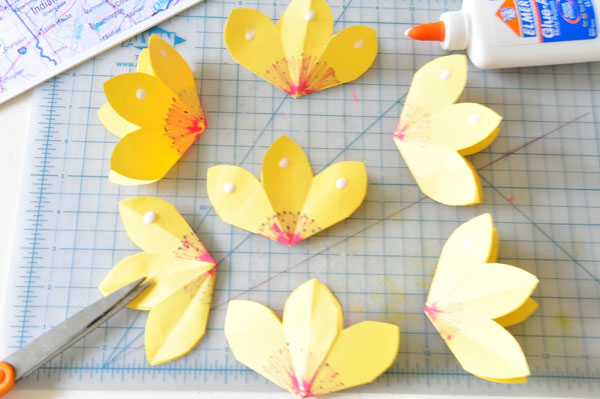
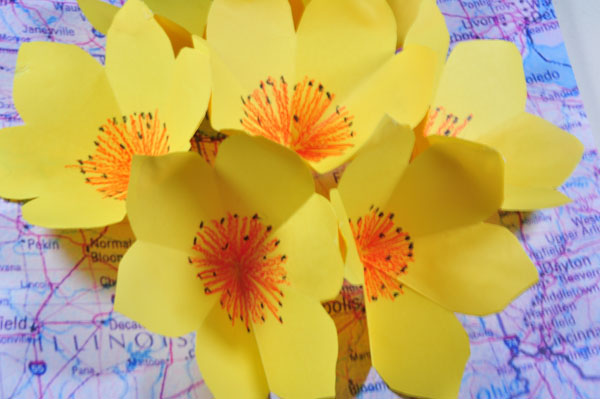
Prearrange them and pre-glue dot them for stacking. Here's how they're stacked. ↓
|
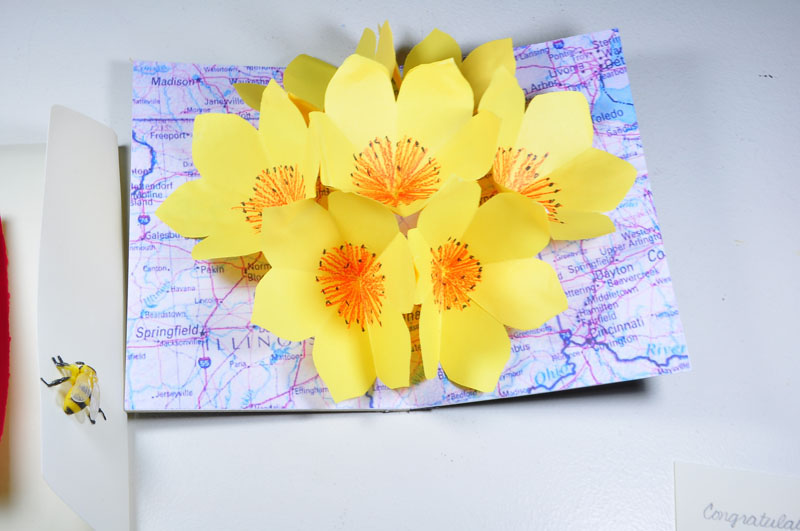
This is what the glued stack looks like. It will be glued inside a card tucked against the central fold. Tuck and fit first, then glue one side at a time.
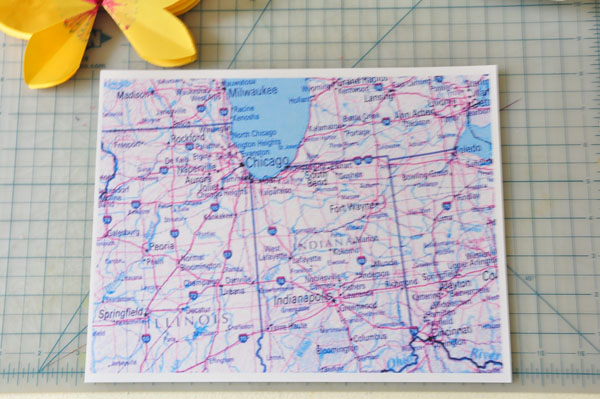
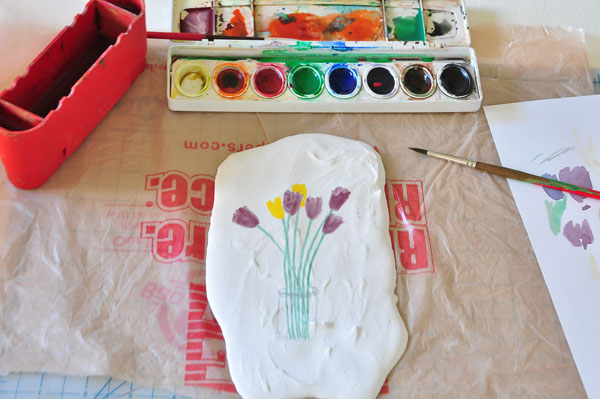
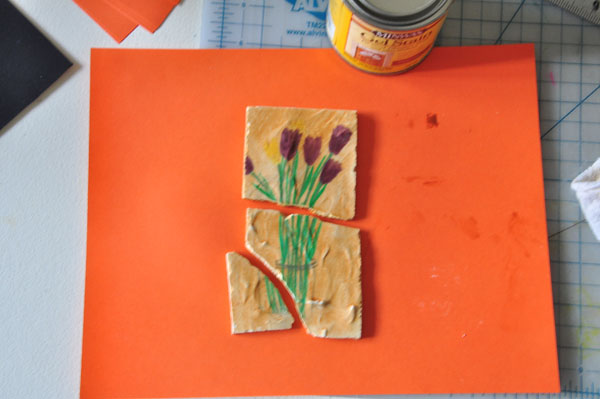
This is a specific background that has meaning to a specific person. Chose whatever background you wish. I do not recommend a road map for an ordinary card.
Tuck into the crease and glue one petal on one side. Close the card on top of the glue.
Flip the card, open it, to the unglued side. Glue the unglued side, close the card again.
After it dries, when the card is opened, the glued together petals drag each other open and force the flowers that are not attached to the card upward and outward. It's awesome and it's delightful. It's an idea that can be elaborated ridiculously. For the record, it's actually easier and faster to fold the paper, cut the petals, draw the flower inside bits, and glue them together, than it was to get my printers to cooperate to print the background. This card is actually quite fast to make. It was much more difficult to photograph it and to write this page then it was to make the pop-up portion of the card. Because this was so simple, I decided to make something of a project of the cover.
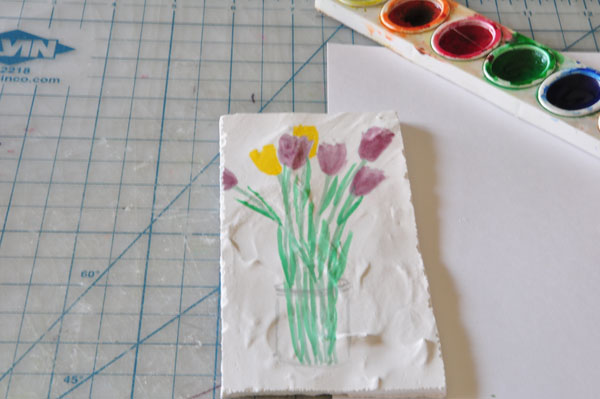
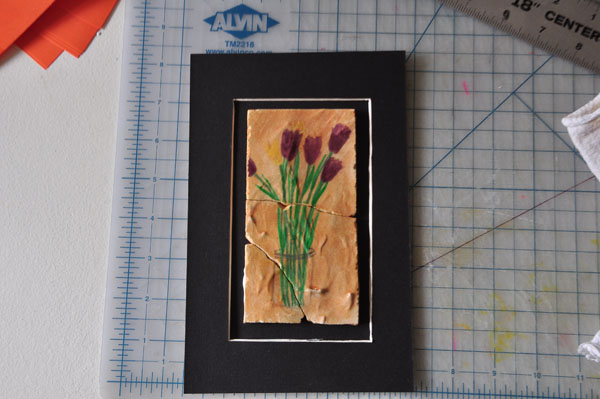
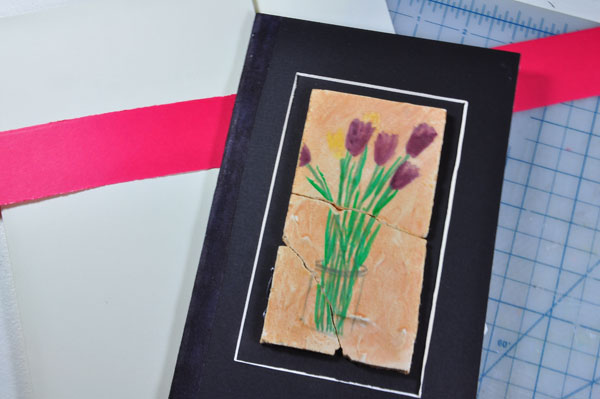
Cover